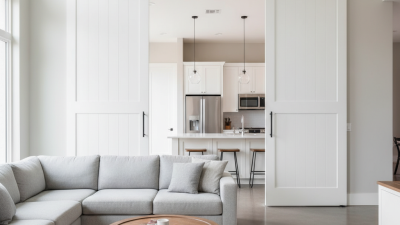
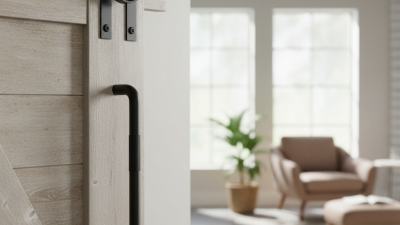
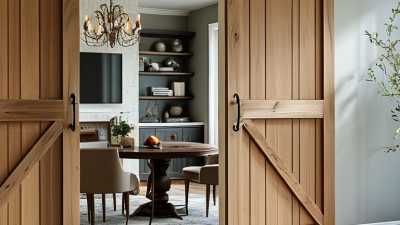
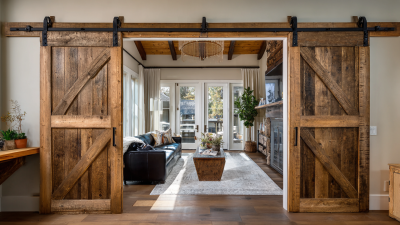
How to Install a Barn Door Track?
Installing a barn door track looks simple, but small errors can affect the door’s movement, stability, and safety. This guide explains how to install a barn door track with practical details that matter during real home projects. You will learn how to check the wall, locate solid studs, measure the door clearance, and position the track accurately. A level, drill, stud finder, tape measure, socket set, and pencil are usually essential. Keep them nearby.
The wall must support more than the track’s listed weight. The door, rollers, fasteners, and repeated movement all add stress. A mounting board may be necessary when studs do not align with the hardware holes. Check the manufacturer’s instructions before drilling. Track systems vary, and similar-looking parts may not fit together. Leave enough space above the door for the rollers and mounting hardware. Also check the floor, baseboard, trim, and nearby furniture. These details are easy to overlook.
Even experienced DIYers can measure twice and still miss a clearance issue. That happened because the baseboard extended farther than expected. Rechecking the opening can prevent unnecessary repairs. Do not rely on drywall anchors alone for a heavy door. Use suitable fasteners and confirm every connection feels firm. Wear eye protection while drilling. Work slowly near electrical cables or plumbing. If the wall structure is uncertain, ask a qualified professional to inspect it. A well-installed barn door track should move smoothly, remain level, and stop securely without scraping the wall or floor.
Choosing the Right Barn Door Track and Hardware
How to Install a Barn Door Track?
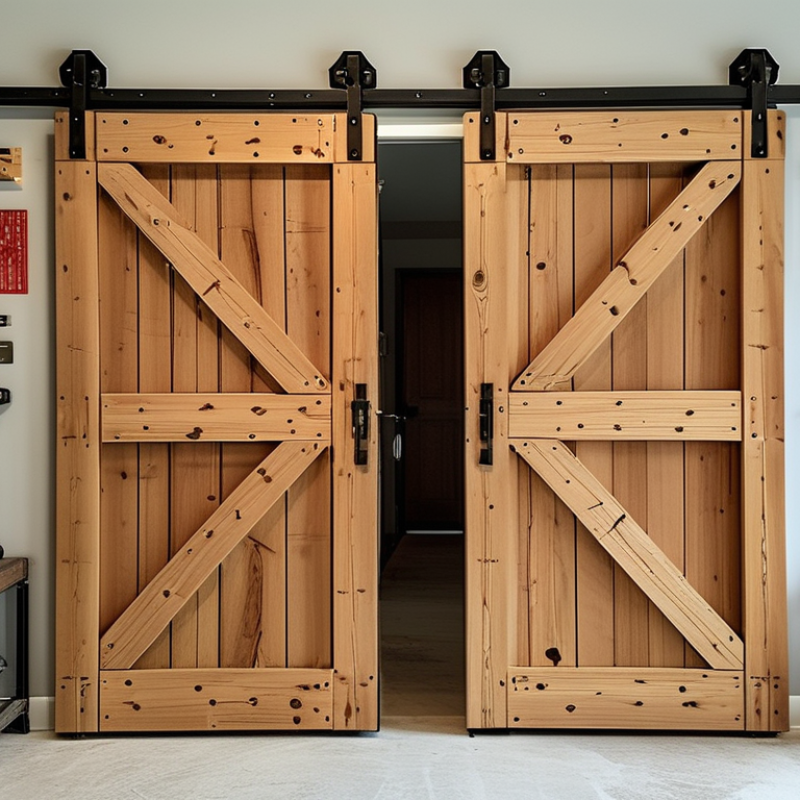
Choosing the right barn door track starts with the door’s weight, width, and movement. Measure the door, then add at least four inches of track beyond each side. This extra length allows the door to open fully.
Check the wall structure before buying hardware. Solid wood studs provide stronger support than drywall alone. If studs are hidden, use a reliable stud finder and mark their centers carefully.
Select a track rated above the door’s actual weight. A heavier rating offers a safer margin, especially for solid wood doors.
Choose rollers that match the track profile. Mixing incompatible parts can cause noise, friction, or derailment.
Include mounting spacers, end stops, an anti-jump mechanism, and a floor guide.
Small parts matter.
Install the track perfectly level. I once trusted a quick visual check, and the door slowly rolled closed by itself. That mistake was annoying but useful.
Use a long level and recheck every mounting point. Secure the track into studs or approved structural backing. Leave enough clearance for handles, baseboards, and nearby furniture.
After hanging the door, move it slowly several times. Listen for scraping. Test the stops and anti-jump hardware before regular use. A slightly imperfect fit may still work, but it deserves another inspection before you rely on it daily.
Preparing the Wall and Mounting the Track Supports
Preparing the wall is the most important part of installing a barn door track. Measure the door width and mark its centerline above the opening. The track usually needs extra length beyond both sides of the doorway. Check the manufacturer’s clearance requirements before drilling. A small mistake here can affect the entire installation.
Use a stud finder to locate solid framing behind the wall. Mark each stud clearly with a pencil. The track supports must fasten into studs or a properly secured wooden header. Do not rely on drywall anchors for the door’s main load. If the studs do not align with the support holes, install a thick header board across the opening. Keep it level, and use structural screws long enough to reach the framing.
Hold the supports against the wall and check their spacing with the track. Place a level on the track before tightening every screw. I once trusted a floor that looked level, and the door slowly rolled open by itself. That error was avoidable. Recheck the measurements instead of forcing the hardware into place. Leave the required gap above the door and confirm that trim will not block its movement. A second person can steady the track while you mark the holes. It makes alignment easier.
Installing the Track, Rollers, and Barn Door
Installing a barn door begins with accurate measurements, not the track. Measure the door width, then add at least 100 millimeters for track overhang on both sides. The opening should remain covered when the door slides fully closed. The U.S. Department of Energy notes that sliding doors often have larger perimeter gaps than hinged doors, so a barn door should not be used where a tight thermal seal is essential.
Check the wall structure before drilling. A loaded track can pull away from weak plasterboard. Use a continuous backing board fixed into wall studs, or approved anchors rated above the complete door weight. ANSI/BHMA A156.14 covers sliding-door hardware performance and testing, but its rating does not replace proper wall support. Read the hardware instructions carefully. Small mistakes become expensive later.
Attach the rollers at equal distances from the door edges. Keep them level, then lift the door onto the track with a second person. Install both end stops before testing movement. The bottom guide should touch the door lightly, without forcing it sideways. I once allowed too little clearance above a frame; the door worked, but adjustment became awkward. Leave practical space for the roller assembly and floor variation. The 2024 Freedonia residential door analysis identifies remodeling as a major replacement driver, yet installation quality still determines daily performance. Slide the door slowly, check rubbing points, and retighten every fastener after the first few cycles.
Adjusting Door Alignment and Testing Safe Operation
How to Install a Barn Door Track?
After mounting the track, check the door’s alignment before tightening every fastener. The track must remain level across its full length. A small slope can make the door drift or strain the rollers. Use a spirit level, then measure the gap between the door and wall. Keep the gap consistent from top to bottom. If one corner rubs, loosen the hanger bolts slightly and adjust them in small increments. Do not force the panel into position. I once corrected a crooked door by overtightening one bolt, which caused rough movement later.
Tips: Mark the final roller position with a pencil. Confirm that the door clears trim, outlets, and nearby furniture. Install the floor guide so the bottom edge stays controlled. Check that anti-jump hardware is secure, but leave enough movement for normal rolling. If the wall framing feels uncertain, stop and verify the support before continuing.
Test safe operation with slow, deliberate movements. Slide the door open and closed several times. Listen for clicking, scraping, or sudden resistance. The panel should stay attached when lifted gently by hand. It should also stop before striking the wall or nearby hardware. Test the handle without twisting the door sideways. Recheck every screw after the first few cycles. This step is easy to skip. It deserves more attention. A properly aligned door moves quietly, remains stable, and does not require force during daily use.